Sunday, December 5, 2010

Yarn and coffee in Mt. Vernon, WA

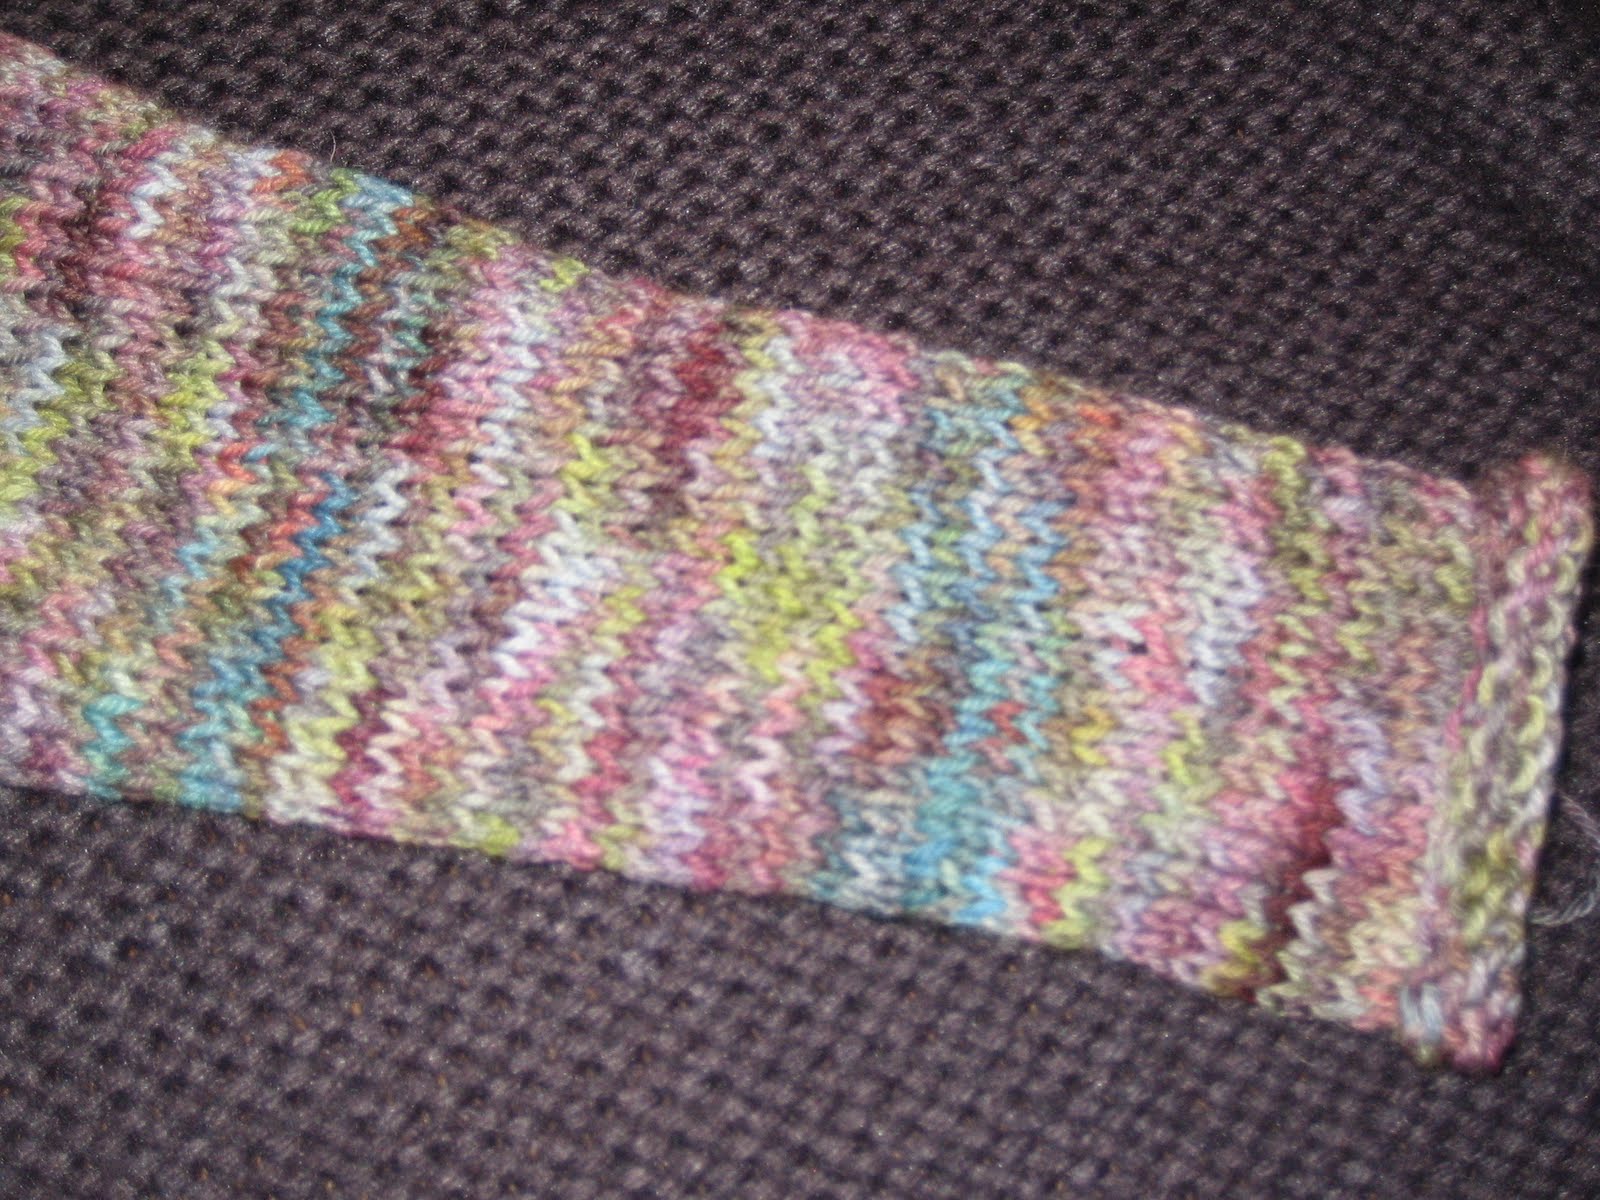
A sneak preview of my upcoming project: Mythos. It's a sweater using fingering weight yarn on size 7 needles. Slow going with the stockinette stitch, but I am alternating between two colorways of yarn that keeps me "paying attention." If you want to see a fabulous version of Mythos, you should check out my side bar and go to Busy Bea Knits. Hers is fantastic!
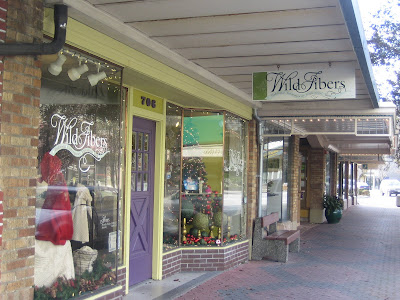
I got to visit the Wild Fibers yarn shop in Mt. Vernon, WA on our way up north today. They had a fantastic selection. I really loved all they carried. All the great "names" in yarn: Cascade, Noro, and Debbie Bliss, Spud and Chloe, Berroco, Rowan, Manos del Uruguay, etc... and some pretty hand painted sock yarns. They also had some really cute buttons. Plus, they were open on a Sunday. Cute sign in the bathroom that reads: This bathroom is very old- it used to be the jail! The toilet will not flush properly unless it has stopped running from the previous flush....
Ristretto coffee had a nice latte made for me, not too hot... and festive straws for the season. Ahhh...


Wednesday, November 24, 2010

Shalom Revisited, Peace Again!

Shalom Two or: "Peace" Again! Here it is with a long-sleeved shirt underneath. It's like a sweater vest coat, really. The coat of many colors. It does attract the attention of those holiday shoppers who are aware enough to notice it is a handmade and distinctive garment. I found this out the other day at Target, when a random lady stopped me to comment about it.It took a few fancy "seams" in the back of the yoke to get it to fit better. In hindsight, I cast on too many for the yoke...
The Shalom Two sweater keeps developing! I decided to add on a hem and a little bit of a sleeve. So I picked up and knit several garter stitch rows for the hem. Picked up too many stitches the first try which made it flare out and ruffle. Second try, picked up every other stitch which was a bit snug. Trying to block it out a bit here:For the sleeve: I picked up about 7 stitches in quadrants around the sleeve and 14 under the arm, (about 42 total) knitting in the round for 5 rows in stockinette, then 3 rows: purl, knit, purl to finish off before casting off on the wrong side row.


This particular project has been in hibernation for a year now. What better time to get the wool out than when we are having a nice cold snap here in Seattle. Lows of 15 degrees at night, snow on the ground and it's 25 degrees out now. School's closed and I can hunker down in my snow jammies all day with my coffee and my yarn. I made the pattern, Shalom awhile back and loved it so. You may find the pattern on Involving the Senses blog. I used a combination of that pattern for the yoke, as well as the Poppy sweater pattern idea for the lower portion of the sweater. You can see my original Shalom and Poppy sweaters on the sidebar to the right, as well as the blogsite mentioned above (I hyperlinked it). This was a creative endeavor combining two pattern concepts into one. I first made the yoke according to Shalom's instructions on size 10 needles with the Noro yarn, casting on 109. In hindsight this was probably too many stitches...Then I added on the body using sideways knitting of stripes of alternating yarns adding in purl rows for interest, until it made a long enough strip to attach to the yoke. I added on a button band to the body, however only added buttonholes to the yoke. I used some Cascade 220 Heathers and some Berroco Palace and more Noro for my striping on the body.
It ends up being very roomy in the yoke in the back, however I am not brave enough to try steeking on such a complicated yoke. So I tried to tumble it a bit in the dryer to see if I could snug the sweater up a bit. I don't recommend doing this on your wool, but I did this on this particular sweater knowing I had a lot of "give" in it and checked it every several minutes. I did this after soaking, spinning it and blocking it almost dry. After this, I sewed on buttons. Voila! My husband says it looks somewhat like a poncho! Thanks, honey! I had thought of adding on sleeves...then again, may not. I might just wear a long sleeved shirt under it.
It kind of does look like Joseph's technicolor dreamcoat or a coat of many colors.
It was a fun and artsy way of using up Noro yarns and my first attempt at doing something of the sort!

Friday, November 19, 2010

An Ending and a Beginning

A sadness is over the knitting community due to the closing of our local yarn shop.
Knitting there one last time was sad, but...

I had the joy of teaching one special Grandma and her granddaughter to knit today. And that helped make up for one sad ending. And made it a day of new beginnings.

And they caught on very quickly. I hope it brings them great joy! I know it did for me!

Thursday, November 11, 2010

Trying On Slinky Ribs and Blocking!

Voila! My new "favorite" sweater: Slinky Ribs, by Wendy Bernard from her book, "Custom Knits".
Used 5 skeins of Elsebeth Lavold Silky Wool, on size 6 needles, 6 dpns, and size 4 needles. LOVE! It is so comfortable and I will really wear this one alot!Modifications: I raised the neckline by an inch and made the sleeves 3/4 length, added in a purl row before casting off the sleeves as well as the hem to help it avoid curling. I also made buttonholes for the six buttons.
I learned about: provisional cast-on, short-row shaping on a sleeve cap, did alot of ribbing and made a few mistakes along the way!
Here's what it looked like all dried and blocked in the morning. I soaked it in Eucalan and then rolled in a towel, put both the towel with the sweater (still inside it), in the "spin" cycle of my washer just to get excess water out, and then layed it flat to dry overnight. Can't wait to get a photo shoot outside in this one!


A sleeve:

Blocking makes ALL the difference:


Found that extra button! I took out and redid the hem to include a purl row to match the ends of the sleeves. Finished picking up the neckline stitches and knit an extra row there than called for. The neckline curls a bit -it is meant to do that. Trying it on before blocking, I am pleased. Before blocking:


During blocking:

I can get a bit of extra length out of it through blocking and get the hem to lie flatter, especially with the purl row added in. This sweater feels super soft and comfy. I can see getting use out of this one! I knit most of the ribbing while down in Bend, OR and will always have the memory that I had started it on a hot September afternoon, poolside at the hotel, just as was pictured in the pattern book! Well...almost! I will remember this was knit just before attending a lovely couple's wedding on our trip there, and alot of time spent knitting it on the LONG car ride home.

Monday, November 8, 2010

Slinky Rib is Coming Along

Edited to add: After adding the buttons...looks like I am one button short! I actually found the buttons at Wal-Mart! Perhaps the greatest discovery ever...they were only 67 cents! Here's hoping they still have them. The pattern calls for you to pick up and knit 2 stitches for every 3 rows along each front buttonband edge, so I picked up 28 along the bands. Remember I raised my neckline up, so this may differ for each individual. On the left front band, on the 3rd (knit) row, I made buttonholes like so: K3, (YO, K4, repeat), K last 3 stitches (with one yarnover, spaced every 4 stitches). On the the following row, purled into the yarnovers and purled 2 together after the holes. I also knit one extra row than called for and cast off on the wrong side (purl side) of the band. I had read in the pattern you are to just sew on the buttons and not make holes, but I thought buttonholes would look nicer, even if I sewed them down secure to the other flap.
I think I can smooth out the ruffles during blocking stage, but here's a close up. Next I will do the picking up of stitches around the neckline and knit stitches off the back neck where stitches have been patiently holding on for a long, long, time.


Sleeves done, and up next: Picking up stitches on the front for the buttonband and the neckline. Every sweater I learn something new. On this one I have learned about shaping a sleeve cap with short rows and doing some rib detail, raising a neckline and doing a provisional cast on. In every sweater are little mistakes. Some I can correct, and others remain there, as a reminder that it is handmade! This sweater has its share of boo boos, however, all in all I am liking it so far.

Thursday, October 28, 2010

Slinky Rib Sleeves, Alpaca Visit

Finished with the first sleeve. Made it 3/4 length instead of short like the pattern. I did decreases about every seven rows. Did stockinette for a few inches, then one purl row, a few more stockinette and then cast off. At the end I had 66 stitches on the needle. I may do this purl row finish to the bottom of the sweater to match, which would mean redoing the last bit of the sweater hem over. I don't like how much it rolls. It's supposed to roll and may block out a bit, but it's rolling alot. So the extra purl row should help the rolling a bit. The photo in the book pictures this "purl" addition on the modified version as well.


A parent at our school has an alpaca farm and these are some samples he brought in to show us today of the different fibers off three of the alpacas. (Bad cell phone picture) Undyed, these are the natural colors. Nice... Showing the sleeve progress on Slinky Rib, knitting downward on dpns:


I am getting a bit tired of ribbing, but I want the sleeves longer than in the pattern. So onward I go. Or downward I go.

Monday, October 4, 2010

Slinky Ribs Sweater Progress

It's coming along here, as you can see. It is meant to curl at the bottom and I will block this one definitely after I am through, as I have heard it will "grow." So I made it 22 " from top of shoulder down to hem. Next, the sleeves, which I have now begun. You pick up the sleeve stitches and shape the sleeve cap using "short rows". A bit awkward, but I am using dpns to do the sleeves. Once the shaping with the short rows is done, then you knit downward in the round.Edited to add more pictures today of my progress knitting downward in the round. After doing the plain rib, you join your left front, back, and right front and begin to knit in the round. You then do the rib detail as instructed. I am using a 29" circular size 6 needle. You then knit in stockinette downward to the desired length. More will be done later to the front with adding bands and buttons, as well as finishing off the neck (which is still on a stitch holder). And of course sleeves will come after that. I put 1/2 my stitches on another pair of circular needles so that I could try this on for size. It fits really well. The front will be closed together with buttonband:

Continuing knititing downward, from the shoulders, using two balls of yarn. One for each "front". You do this after the point where you pluck out the provisional cast on... after much gnashing of teeth. Don't ever ever make your provisional cast on out of the same yarn as your project, my dears....just saying. I didn't have any other yarn with me or I would have. See the neck held by the stitch holder? See the stitch markers marking the shoulders? I knit downward, one side at a time, and raised up the neckline curve 1 inch higher than the pattern. If you do this, you must pay attention then as to where to begin your armhole increases and then after you are chugging along well with both fronts, pay attention to when to put your stitches on the needle in order of : left front, back (from "waste yarn"), and right front. Then you knit downward still, but side-to-side across these pieces leaving the fronts separated for now. Is that clear as mud? Great! It really makes more sense than that when you read the pattern.
Since I am doing the size 36 1/2, I am knitting now until my fronts measure 11 inches from the shoulder. Then it will be time for connecting the fronts and knitting entirely in the round I believe. Hey, looking at this, it could make a cute tank top, couldn't it? But I want the whole yummy sweater with sleeves. I am sort of sick of ribbing actually about now. I must press on!